Calendar Planner – Get Started
for Microsoft 365 & SharePoint Online
Introduction
Calendar Planner is a SharePoint Framework (SPFx) web part designed for Microsoft 365 tenants. It provides year, month, week, and grid timeline views. All for event management using SharePoint list data. This guide walks you through the installation, configuration, licensing activation, and initial setup process.
Before installing Calendar Planner, ensure:
Prerequisites Required
- Microsoft 365 tenant ✔
- SharePoint Online ✔
- Permission to upload apps to the SharePoint App Catalog ✔
- Permission to add web parts to modern site pages ✔
- An active Calendar Planner licence via your JFDI SaaS subscription ✔
Optional (recommended)
- Site Collection Administrator rights
- A modern communication or team site for deployment
- SharePoint List(s) for managing events and appointments
Installation Steps
Activate the SPFx App Package
Download and activate the latest Calendar Planner application from the provided distribution in the Microsoft Marketplace:

Upload to the App Catalog / Alternative manual method
- On request, JFDI can provide a .sppkg file (delivered via email) for you to upload directly into the app catalogue, should the marketplace distribution not work for you
- When prompted, check: “Make this solution available to all sites in the organisation” (recommended)
- Go to: SharePoint Admin Center → More Features → Apps → App Catalog
- https://[yourdomain].sharepoint.com/sites/appcatalog/_layouts/15/tenantAppCatalog.aspx/manageApps
- Select Apps for SharePoint
- Upload the
.sppkgfile - After the upload is processed, you will see a new entry similar to this:

Approve API Permissions
When prompted, approve the API permissions in the Microsoft 365 Admin Center.
The entry for Calendar Planner will be listed in the ‘pending’ section as ‘JFDI Consulting Ltd Licensing’ and will be requesting ‘access as user’ permissions:

Add to a SharePoint Site
- Navigate to the SharePoint site where Calendar Planner will be used
- Go to Site Contents → New → App
- Find Calendar Planner and add it to the site
- If the App is not listed, it may have been set by the global administrator to be organisation-wide when added to the app catalog
- Create a New Page for the web part to be placed (recommended for the first deployment to a new site)
Adding Calendar Planner to a Page
Go to the SharePoint page where you want the calendar
- Select Edit
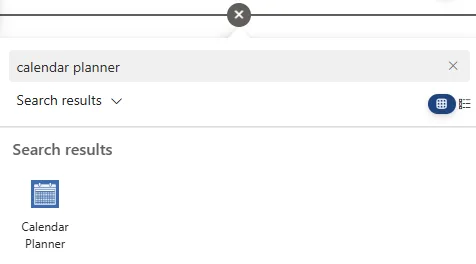
- Click the “+” to add a web part
- Search for Calendar Planner
- Insert the web part and publish the page
Initial Configuration
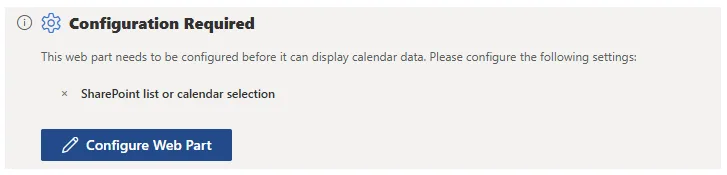
Once the Calendar Planner web part has been added to the page:
- Press the ‘Configure Web Part’ button
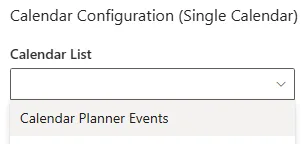
Select a compatible List
- Calendar Planner can be configured to use any SharePoint Calendar list or standard lists that include a start and end date site column.
- This list stores all event items to be viewed on the Calendar Planner web part.
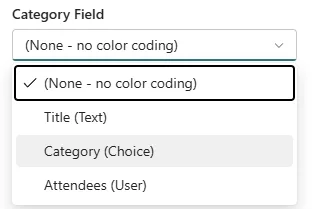
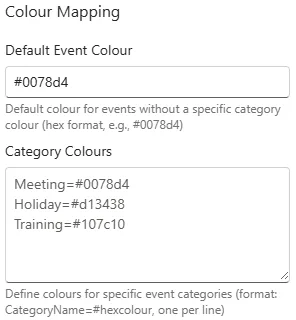
Configure Categories (optional)
The selected Calendar List may already have a category field/column, which can be selected in the web part property pane:
If an existing category field does not exist – Under List Settings, configure:
- Category names
- Optional descriptions
These categories drive colour-coding in calendar views, which can also be defined in the web part properties:
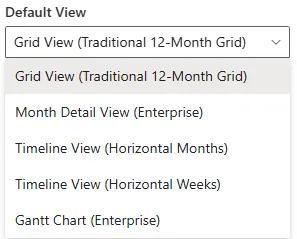
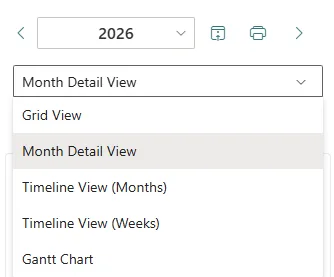
Select Default View
Choose the default display mode:
- Grid View
- Month View
- Timeline View (Months)
- Timeline View (Weeks)
- Gantt Chart
Licensing Activation
Calendar Planner validates your subscription using a secure SaaS licensing check.
Activation process:
- The web part automatically detects your Microsoft 365 tenant ID
- It securely transmits:
- Tenant ID
- App ID
- No personal or event data is transmitted
- Valid licences activate the app immediately
If your licence cannot be validated, you’ll see an in-app message with steps to resolve the issue.
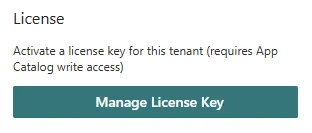
You can manage your License at the bottom of the web part property pane:
Clicking on the ‘Manage License Key’ button will open the ‘Activate License Key’ pane:
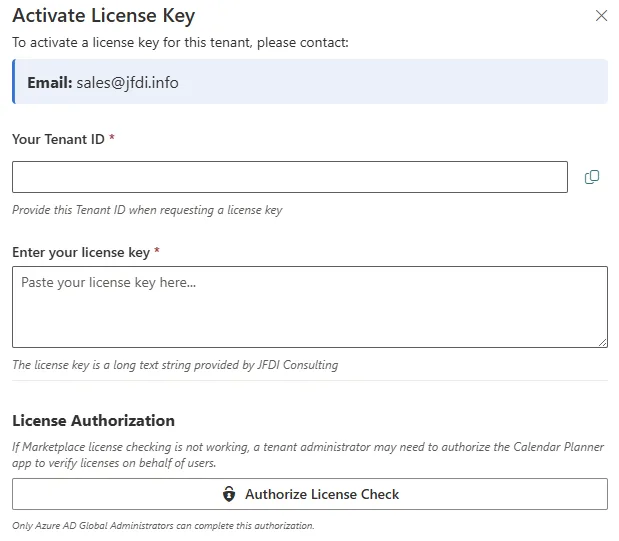
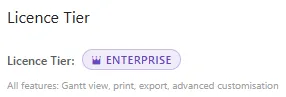
When your license is validated, you will see the following at the top of the web part property pane with your corresponding License Tier on display:
Using Calendar Planner
Calendar Planner web part method:
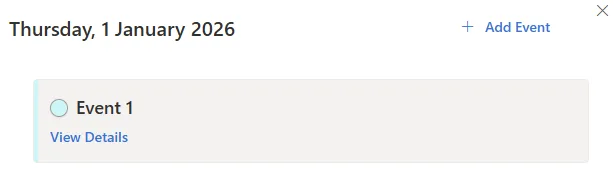
- Select any date to view the events listed for that date in a side panel
- Click on ‘Add Event’ located in the top right corner of the panel
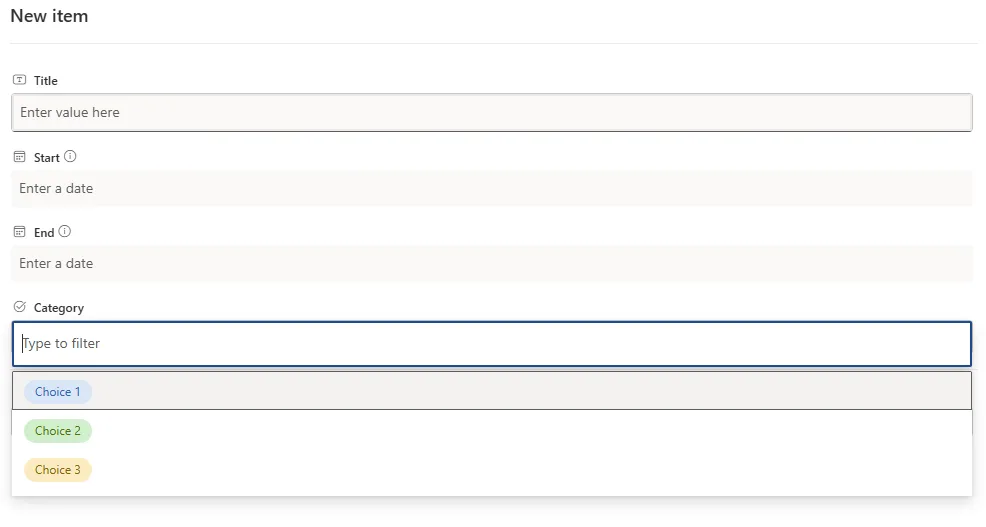
- Enter at least Title, Start and End dates
- Select a Category if configured
- Complete the ‘New Item’ form and hit ‘Save’
Native SharePoint List method:
- Navigate to the SharePoint List(s) the web part was previously configured
- Click on ‘Add new item’ button

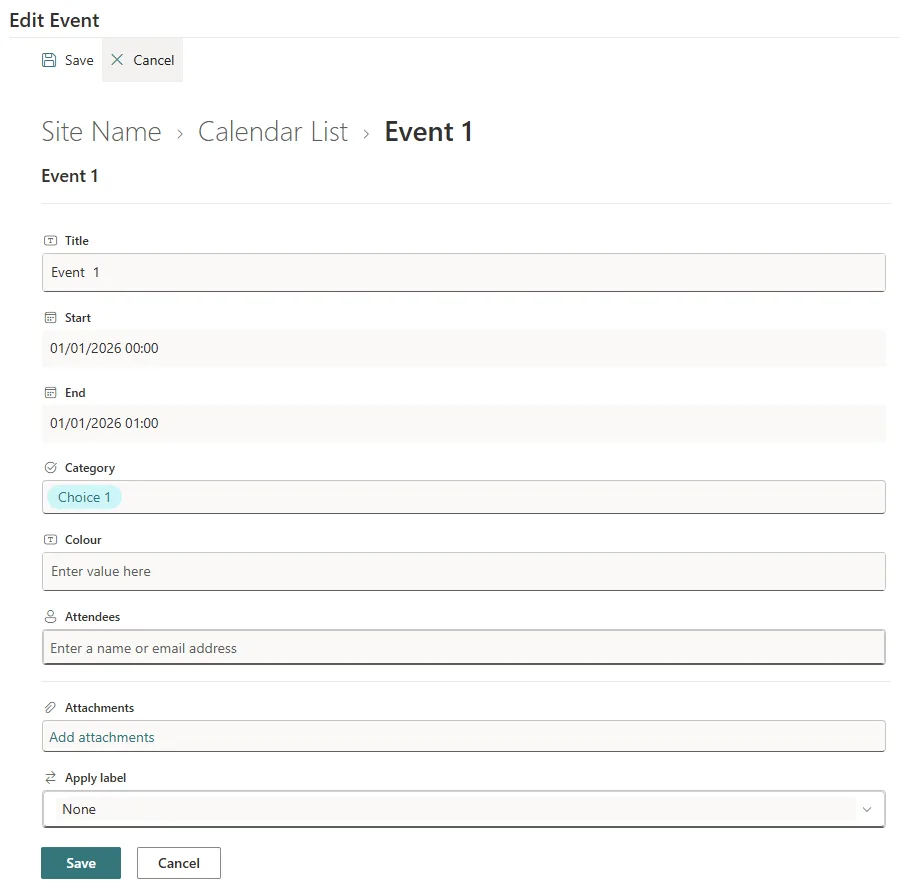
- Select an event from any view or when within a side panel, select ‘View Details’

- The side panel will open for you to modify, save or cancel
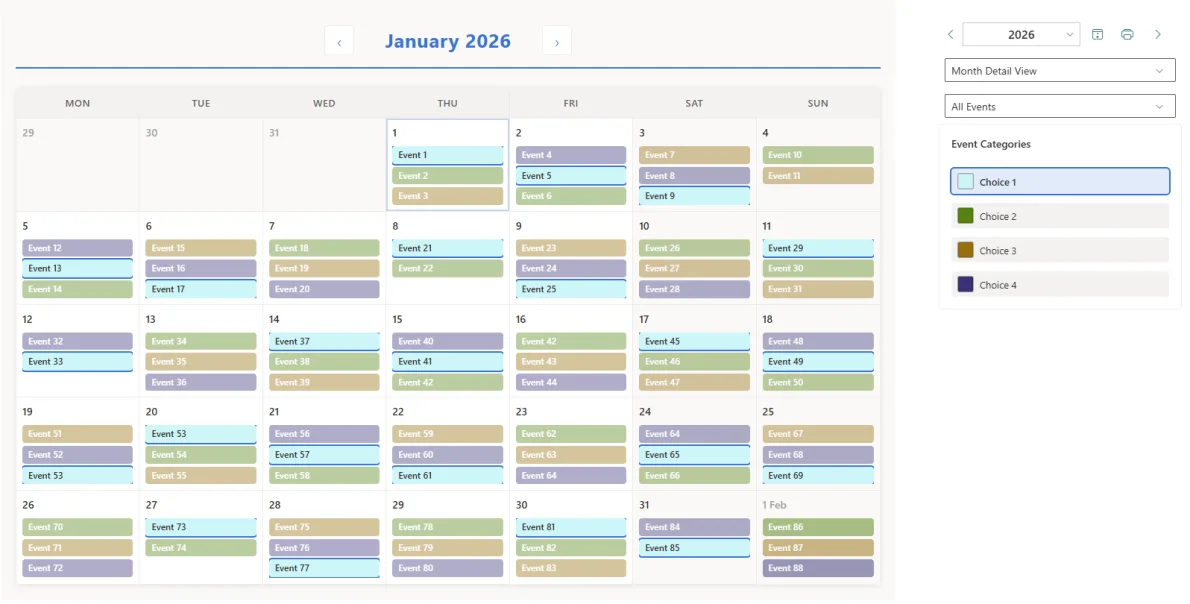
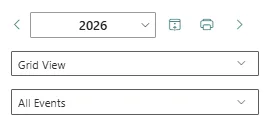
Use the view selector to switch between visual layouts.
Select one or more categories to simplify the visualisation of workloads or event types.
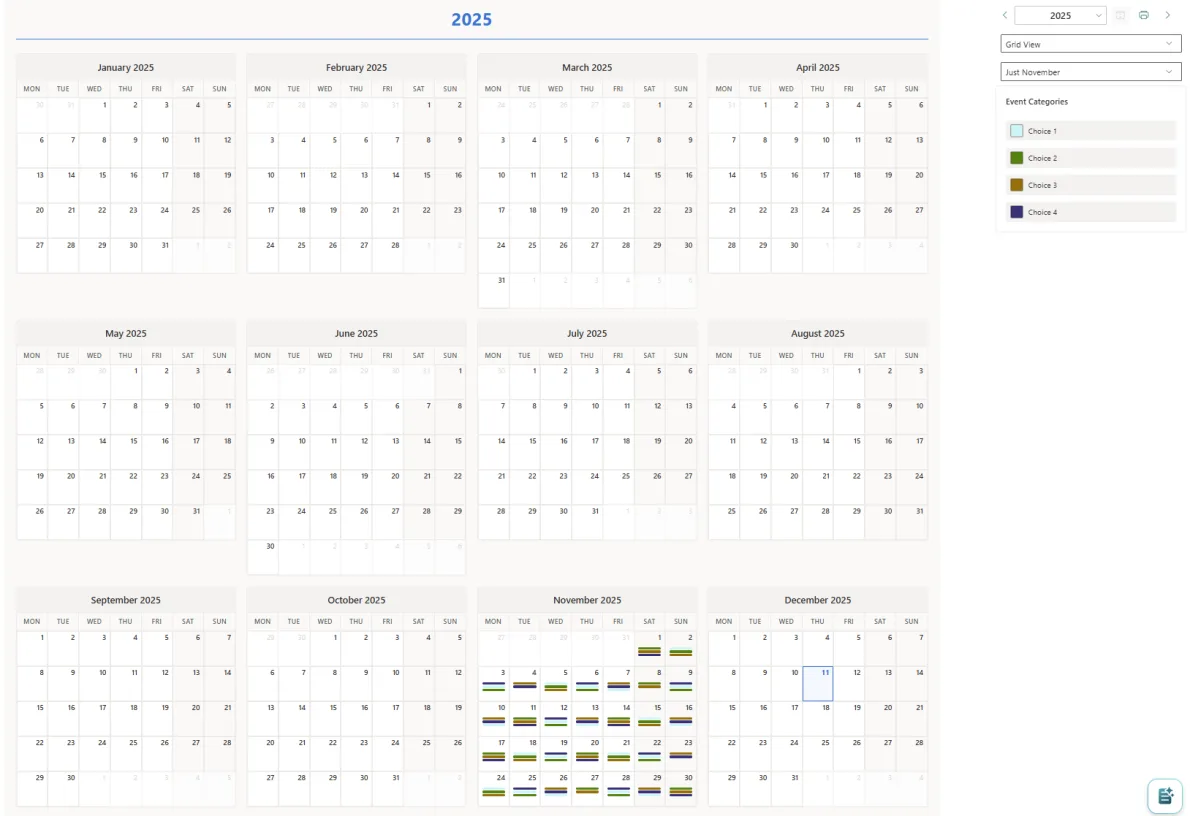
Calendar Planner also fully supports SharePoint List Views.
Once defined, they are available in the dropdown below the normal web part view selector. Here is an example that restricts the view to ‘Just November’ using standard SharePoint List view filtering techniques:
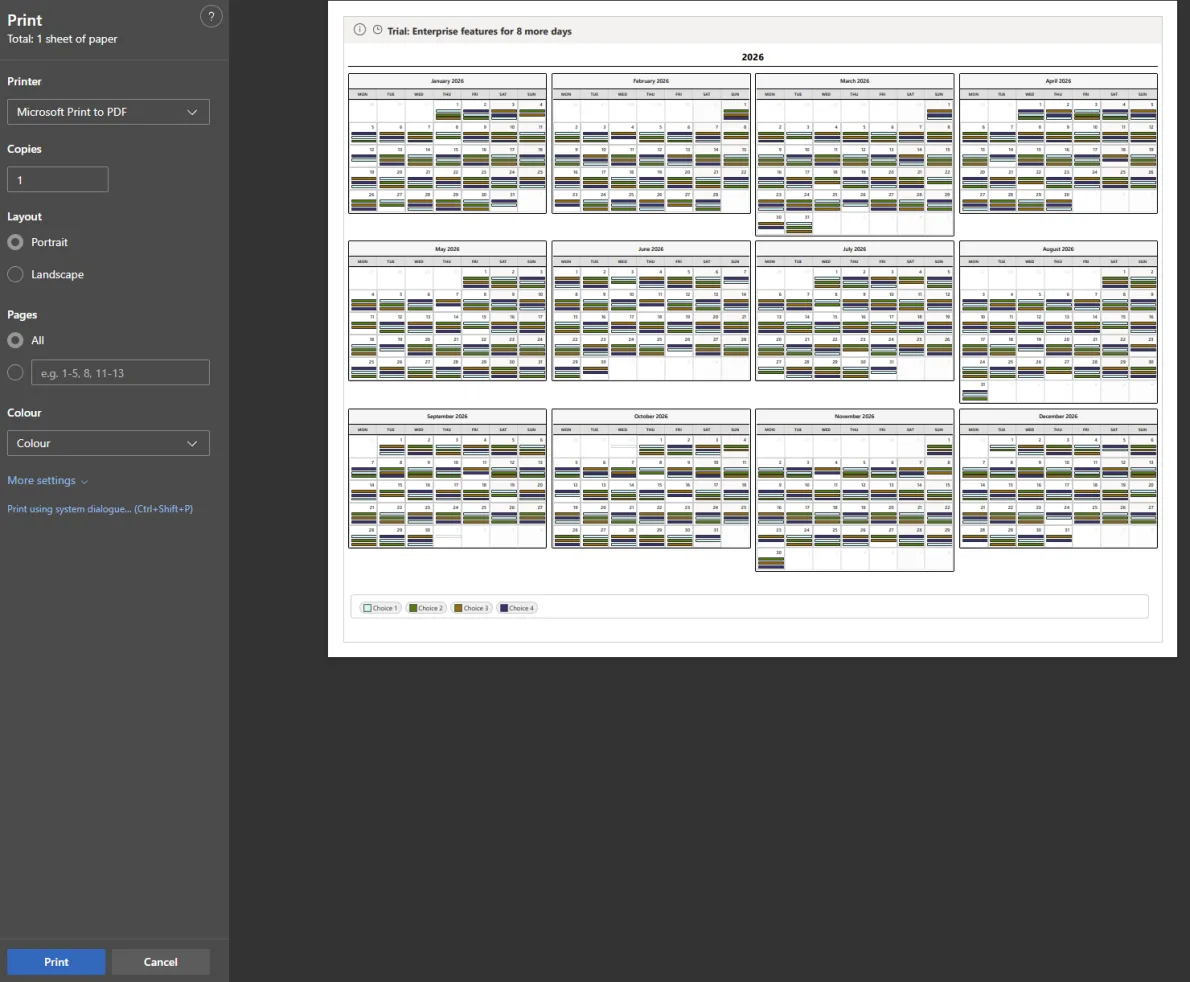
When on any view, you can select the ‘Print’ icon:
Allowing you to send that view to a printer or create a PDF:
Permissions & Security
Calendar Planner respects SharePoint permissions:
| SharePoint Permission | Calendar Planner Behaviour |
|---|---|
| Read | User can view events |
| Contribute | User can view & add/edit/delete their events |
| Full Control | Full list & app management |
No data leaves your Microsoft 365 tenant.
Troubleshooting
Web part not visible?
- Ensure the Calendar Planner app is installed on the site
- Confirm that the
.sppkgwas approved and deployed tenant-wide
List not created?
- User may lack permission to create lists
- Create manually using template provided in documentation
Licensing error?
- Ensure your SaaS subscription is active
- Contact support if tenant ID mismatch occurs
Helpful Resources
Contact Support: https://jfdi.info/products/support
Product Page: https://jfdi.info/products/web-parts/calendar-planner
Web Part Sign Up Page: https://jfdi.info/products/web-parts/calendar-planner/sign-up
Microsoft Marketplace: https://marketplace.microsoft.com
This page ‘Getting Started’: https://jfdi.info/products/web-parts/calendar-planner/get-started/